Embarking on a micro-needling routine at home can feel a bit intimidating at first, but once you understand the process, it becomes a simple and empowering addition to your skincare regimen. I love feeling like I have what I need to self-care at home without the heavy cost associated with professional treatments. Whether you’re aiming to diminish dark spots, fine lines, or acne scarring, knowing the right steps ensures you get the most benefit while keeping your skin safe and healthy.
Having personally started using a home micro-needling kit, I can tell you it’s a gentle, effective way to support your skin’s natural vitality. I love the results and am excited to share what I’ve learned! Here’s my step-by-step guide to help you navigate the process confidently.
What Do I Need to Start Micro-Needling at Home?
Before you begin, gather a few essentials:

– A high-quality micro-needling device (I recommend the Banish Starter Kit, which I’ve used and loved for its safety and effectiveness)
– Replaceable needle heads (the Banish Starter Kit offers .25mm, 2x .50mm, and 1.0mm heads) and a $30 gift card.
– Rubbing alcohol (70%) for sanitizing your device
– Gentle cleanser to clean your face
– Serums and moisturizers (preferably vitamin C serums and creams. The Banish kit includes Vitamin C Cream, Vitamin C Serum, Dark Spot Remover, Pumpkin Mask, and Fighter Gel which contains Aloe Vera.)
– SPF sunscreen for daily protection
– Cotton pads or alcohol wipes for skin prep
– Optional: A soothing mask or calming serum for post-treatment care
How Do I Use a Home Micro-Needling Kit? A Step-by-Step Process
1. Preparation: Clean and Sanitize
– Start with clean hands and a clean face. Remove makeup, dirt, and excess oils with a gentle cleanser.
– Sanitize your micro-needling device by filling the cap with 70% rubbing alcohol and soaking the heads for about 5 minutes. Allow to air dry for a minute.
– If you prefer, wipe your skin with an alcohol wipe, especially on areas you plan to treat. If your skin is very dry, skip this step.
2. Choose the Right Needle Head
– Use the .25mm head for sensitive areas, such as around the eyes.
– Use the .50mm head for most of your face. It’s effective yet gentle.
– Use the 1.0mm head for thicker skin areas or body treatments, like scars or stretch marks.
3. Micro-Needling Treatment

– Gently press and stamp the device onto your skin. Avoid dragging or applying excessive pressure.
– Stamp each area about 3 times, working systematically across your face; forehead, cheeks, chin, and neck.
– Be cautious to avoid active breakouts, rashes, or irritated areas.
– Do not over-treat; once every two weeks is ideal for beginners. If your skin tolerates it, you can increase it to weekly sessions.
4. Post-Treatment Care
– After stamping, apply your serum or moisturizer. I prefer a nourishing vitamin C cream to support collagen production and brighten my skin.
– Avoid applying retinol, acids, or exfoliants immediately after micro-needling.
– Protect your skin during the day with a broad-spectrum SPF. Your skin is more sensitive after treatment, so sun protection is crucial.
– Keep your skin hydrated and avoid makeup or harsh products for at least 24 hours unless your skin feels completely calm.
-I also love the Banish retinol and eye cream for excellent consistent skin care.
Understanding the Different Banish Microneedling Heads and When to Use Them
The Banish Starter Kit includes three heads designed for different areas and skin types:
– .25mm Head: Best for sensitive skin areas, such as around the eyes and lips. Use this for gentle stimulation without causing discomfort or irritation.
– .50mm Head (2 included): Ideal for most of your face, providing a good balance between efficacy and comfort. It stimulates collagen and improves skin texture.
– 1.0mm Head: Suitable for thicker skin, scars, stretch marks, or targeted areas that need deeper stimulation. Use cautiously and not more than once every few weeks.
Switching between heads allows you to customize treatments based on your skin’s needs and sensitivity.
Additional Tips for Best Results
– Consistency is key. Regular treatments (every two weeks or weekly if tolerated) will gradually improve skin texture, brighten your complexion, and reduce dark spots and fine lines.
– Listen to your skin. If you notice excessive redness, irritation, or discomfort, give your skin extra time to recover.
– Stay hydrated and nourished. Drink plenty of water and support your skin from the inside with a balanced diet.
– Avoid harsh products post-treatment. Steer clear of retinoids, acids, or exfoliating scrubs for at least 24-48 hours.
– Be gentle with yourself. Micro-needling is a gradual process that amplifies your skin’s natural regenerative ability.
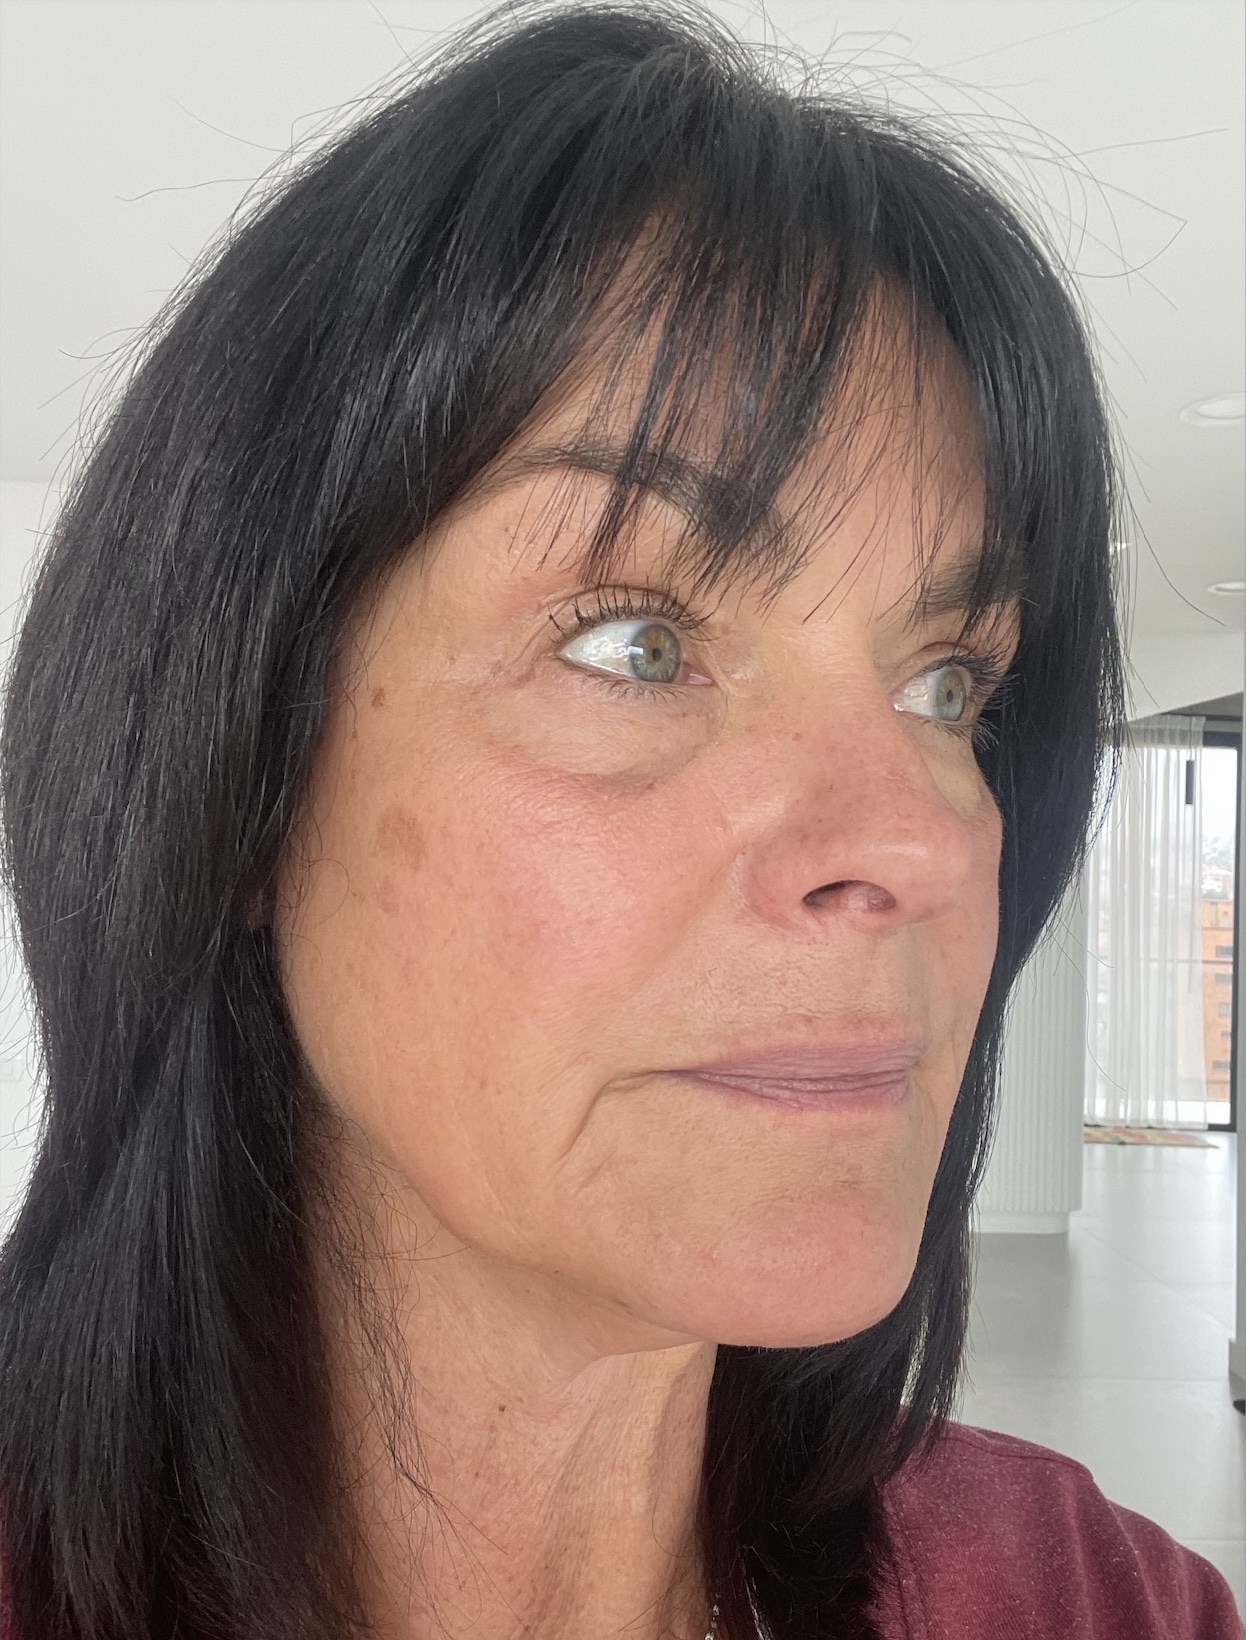
The Timeline of My Microneedling Journey
I love using an at-home microneedling kit, and feel that it is applicable and effective for the majority of you. I saw improvement in my issues within one month, and you will, too. You do need to be consistent and use follow up treatment creams like a vitamin C, but the results are undeniable. Here are my noticeable outcomes using Banish:
My Results Timeline
- After 1 session: Pink skin and red in places
- Day 2: Redness gone, skin feels smoother
- Week 1: Fine lines looked softer and skin is brighter
- Week 4: Noticeably better texture, elasticity, and brightness
- After 2nd Session: Wrinkles are softened, skin not as red


Final Thoughts: Embrace Aging with Supportive Care
Micro-needling at home is a safe, effective way to support your skin’s natural beauty and resilience. By following these steps, you can enjoy smoother, brighter, and more even-toned skin without the need for costly or invasive procedures
Remember, the goal isn’t to fight aging but to nurture and celebrate your skin at every stage. Each treatment, combined with a consistent skincare routine, helps you age gracefully and confidently.
If you’re ready to give it a try, I highly recommend starting with a reputable, safe kit like the Banish Starter Kit. With patience and care, you’ll see your skin glow with renewed vitality; proof that aging is a journey worth embracing.
Use the code THEBEAUTYSHAMAN for $5 off your purchase at Banish.com

Exactly what I’ve been in search of — can’t thank you enough, Suzanne! I’ve been using a derma roller for microneedling for a while now and I don’t feel it’s the safest way to go. A stamper may be a much better tool for me. All the information you’ve provided in this post is very helpful.
Hi Melanie, Thank you so much for your message! I’m really glad you found this helpful, I was surprised how much I liked the micro-needling kit and how much I have used it. Please let me know if you have any questions about it! SUZ